Plug-and-Play Makeovers for Rented Spaces

Today we dive into plug-and-play retrofit strategies for rental homes using upcycled modular connected partitions and storage, showing flexible ways to carve privacy, add storage capacity, and improve daily comfort without drilling, wall damage, or risky commitments. We’ll explore reversible build methods, circular materials, renter-safe power, and clever automations that pack down when it’s time to move. Bring your questions, share before-and-after photos, and subscribe for build guides, sourcing maps, and reader-tested patterns you can adapt this weekend.

Why Click-Together Upgrades Suit Renters

Rental living thrives on flexibility. Click-together builds respect leases, deposits, and landlord boundaries while still delivering meaningful improvements in zoning, acoustics, and storage. Using friction-fit frames, compression poles, ballast bases, and removable adhesives, you can add rooms within rooms, boost organization, and restore everything to move-out condition in an afternoon. This approach saves time, trims waste, and encourages experimentation, because the parts evolve with you, not the other way around.

Lease-Safe Principles That Keep Deposits Intact

Start with non-invasive strategies: compression-fit uprights instead of screws, over-door hooks rather than new hardware, and removable adhesives with published shear ratings. Protect paint with sacrificial tapes, add felt pads under every foot, and use balanced ballast so loads stay predictable. Document pre-existing conditions, photograph each wall before and after, and keep an inventory of parts for easy offboarding. Your security deposit depends on thoughtful reversibility and visible respect for the space.

Fast Wins You Can Finish Before Sunday Night

Aim for projects that assemble, test, and tidy within a weekend. Build a translucent sleeping screen, a rolling wardrobe wall, or a standing desk alcove from reclaimed panels and snap-in connectors. Choose adhesives with known cure times, pre-cut felt baffles, and battery lighting that snaps to magnetic rails. End Sunday by stress-testing stability, walking your egress path, labeling bins, and capturing measurements. Monday morning, you wake to a calmer, better-organized flow.

Comfort Gains Backed by Small, Measurable Metrics

Track what changes. Use a simple sound meter app to compare pre- and post-partition levels, aiming for a few decibels of relief in work zones. Measure lux at your desk after adding reflective panels and LED task strips. Count reclaimed storage volume in liters, and watch CO2 or humidity around sleeping areas with compact sensors. Small, verifiable metrics build confidence, persuade landlords, and help you iterate toward healthier, more relaxing interiors.

Reclaimed Panels, Fresh Boundaries

Upcycled modular partitions turn yesterday’s doors, shelving, and office dividers into today’s agile boundaries. Combine translucent polycarbonate for daylight with felted textiles for soft acoustics. Use click latches, cam locks, and 3D-printed spacers to achieve alignment without drilling. Clerestory gaps maintain airflow while preserving privacy lines. When it is time to move, components flat-pack into slim bundles that travel easily, ready to be reimagined in your next home with fresh configurations.

Material Sourcing Without Dumpster Diving

Look to architectural salvage, reuse depots, local maker spaces, and office liquidations for durable panels that deserve another life. Seek uniform thicknesses to simplify connectors, and prioritize smooth edges you can safely handle. Avoid warped laminates, flaking finishes, or unknown coatings. Freecycle and Buy Nothing groups often surface closet doors, retail shelves, and grid panels perfect for modular frames. Clean, sand lightly, and seal where needed, extending service life while honoring circular design.

Connection Systems You Can Undo Blindfolded

Choose connectors that assemble with an Allen key or no tools at all. T-slot aluminum, Unistrut, and cam-lock fasteners provide repeatable precision, while snap clamps and toggle latches speed adjustments. Add shims to level on wavy rental floors, and incorporate anti-rattle gaskets for quiet living. Color-code hardware in small bins, label lengths, and keep a spare fastener kit. Your future self will appreciate five-minute reconfigurations instead of afternoon-long rebuilds.

Light, Air, and Sound: The Balancing Act

Design for daylight and comfort together. Translucent panels preserve glow, clerestory slots protect airflow, and felt baffles tame echoes around work calls. Consider partial-height dividers to keep rooms breathing, and hang soft textiles where reflections ring. Evaluate ventilation by watching CO2 trends, adjusting gaps accordingly. If privacy needs rise, layer secondary curtains or sliding screens. The best partition feels present yet light, shaping space while respecting air, light, and your daily rhythms.

Power and Cabling That Leave No Scars

Lean on battery banks, USB-C hubs, and adhesive raceways to route power invisibly. Magnetic low-voltage rails snap lights into place without fasteners, while cable clips guard paint. Favor low-watt LED strips and motion-activated pucks to stretch battery life. Bundle cords with fabric ties, and use removable mounting squares with published pull strengths. When moving, peel cleanly, wipe surfaces with mild citrus solvent, and pack rails flat to prevent kinking during transport.

Sensor Kits That Earn Their Keep

Deploy small sensors where they truly matter. A humidity tag in the wardrobe protects wool, a PIR sensor tempers hallway lighting, and a CO2 monitor near a sleeping nook signals when to open windows. Door contacts track closet access, auto-lighting your grab-and-go shelf. Choose platforms supporting Matter or local MQTT for longevity without cloud lock-in. Automations should be gentle assistants, not noisy masters, quietly improving comfort while remaining easy to pause or override.

Privacy, Offboarding, and Data Dignity

Treat data like your deposit: protected and fully recoverable. Favor local processing through Home Assistant or privacy-centric hubs, keeping logs on your hardware. Before move-out, factory-reset devices, purge backups, and delink any shared access with roommates. Provide a simple, printed offboarding checklist with QR codes to reset instructions. This respectful process reassures landlords, prevents account stragglers, and restores your modules to honest, non-connected furniture ready for the next adventure.

Small-Space Plays That Multiply Function

Good layouts borrow space without stealing light. Use an L-shaped translucent partition to cradle a bed, add a rolling wardrobe wall as acoustic buffer, or nest a compact desk into a bay. Sliding screens on top rails keep floors intact, and weighted bases maintain safety on rugs. Every move preserves egress, enhances routine, and stays reversible. Share your floor plan, and we will suggest a pattern tuned to your daylight, door swings, and habits.

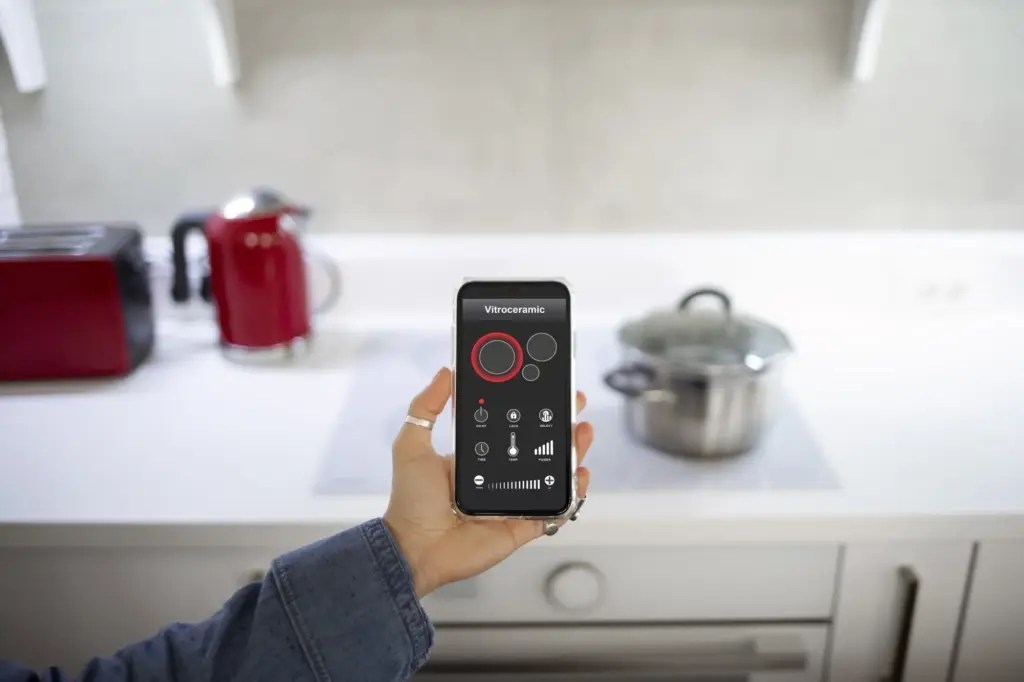
Studio: Quiet Sleeping Nook and Daytime Desk

Create a calm corner by pairing reclaimed closet doors with translucent polycarbonate over a lightweight frame. Add felt strips at hinges for hush, and a clamp-on task lamp for focused light. Park a rolling storage cube as a nightstand, then flip it to a printer stand by day. Keep a 32-inch clear path to exits, and let a clerestory slot vent air. The space shifts gracefully between rest and productivity without wall scars.

One-Bedroom: Borrowed Room for Guests or Work

Transform an oversized living area into a flexible guest cove with semi-opaque screens and a fold-down desk. Use compression poles to avoid anchors, and a ceiling-friendly top rail to guide a sliding panel. Hidden storage cubes host linens, while e-paper labels swap from “workspace” to “guest suite” in seconds. After visitors depart, panels park flat behind a sofa. The original lease stays honored, yet your daily life gains new, useful dimension.

Family Rental: Play Zone That Packs Away Fast

Roll out a toy wall built from upcycled shelving and bins clipped to a slat panel. Add a felt canopy panel that lowers echoes during story time, then stows overhead on magnets. Low, tip-resistant bases and rounded edges protect little explorers. Color-coded cubes teach tidy habits, and casters slide everything aside for yoga, movie night, or guests. At move-out, the entire kit flat-packs, ready to reconfigure in your next family home.

Weekend Roadmap: Tools, Time, and Costs

Plan like a pro, even without a shop. Start with a carry-on toolkit, pre-cut panels from salvage or reuse depots, and a clear sequence: measure, mock up with painter’s tape, assemble frames, add panels, level, and ballast. Use adhesive curing windows wisely, build subassemblies on rugs, and label every connector. Expect budgets from thrift-level to premium, depending on finishes and sensors. Share your budget target, and we will propose a matching bill of materials.

The Carry-On Toolbox

Keep it light: a tape measure, small square, Allen keys, multi-bit screwdriver, soft mallet, flush-cut snips, removable adhesive, felt pads, painter’s tape, and cable clips. Add a compact battery bank and USB-C splitter for lighting tests. A digital level speeds alignment on wavy floors. With these essentials, most assemblies click together in hours, not days, and every piece stays reversible. Your rental remains intact, while your space grows genuinely more useful.

Assembly Choreography

Dry-fit frames first, confirming widths against baseboards and radiators. Next, hang panels, add acoustic layers, and balance ballast before any electronics. Route cables through adhesive raceways, then test lighting and sensors on temporary mounts. Walk the egress path, tug every joint, and listen for rattles. Photograph each step for an easy teardown later. This calm sequence prevents surprises, protects surfaces, and leaves time Sunday evening for a celebratory cup of tea.

Safety First, Then Smiles and Sign-Offs

Great retrofits protect life, exits, and neighbors. Preserve egress widths, avoid blocking radiators or vents, and keep clearance below sprinklers where applicable. Favor materials with known fire behavior, add anti-tip strategies, and distribute loads across wider bases. Communicate early with your landlord, offering drawings, reversible methods, and a restoration plan. When everything reads careful and respectful, approvals become conversations, not confrontations, and you gain allies for future experiments and gentle, meaningful improvements.

Fire, Egress, and Clearances You Must Respect

Never compromise escape paths or life-safety devices. Keep exits clear, do not cover detectors, and maintain generous headroom under sprinklers where present. Use non-fragile panels that will not shatter into hazards. Avoid draping textiles near heaters, and pick adhesives rated for temperature swings. Local rules vary, so verify requirements, sketch your layout, and run a quick nighttime drill. Safety that feels obvious under stress is the only safety that truly serves.

Loads, Anchors, and Tip-Resistant Thinking

In rentals, anchors may be limited or off-limits, so choose stability by design. Widen bases, add sand or water ballast low, and orient shelves perpendicular to walk paths. Use anti-tip straps only where allowed and removable. Test with gentle pushes, then stronger shoves, confirming nothing walks on rugs. Distribute heavy items at the bottom of storage, and never place loads overhead in kid zones. Predictable balance keeps people, pets, and deposits safe.

Temizerapento
Privacy Overview

This website uses cookies so that we can provide you with the best user experience possible. Cookie information is stored in your browser and performs functions such as recognising you when you return to our website and helping our team to understand which sections of the website you find most interesting and useful.